driftwood "clothesline" picture frame~ *DIY*
this was such a fun project! & ridiculously cheap i must add :)
first i will give major props to http://www.postalpix.com ~~> their handy dandy app allowed me to order instagram pix right from my iPhone! even the thought of having an actual photo in my hand made my heart flutter :D it had literally been YEARS since i'd printed anything, i was starting to feel pretty guilty. postalpix made it so stinkin' quick & easy that i couldn't resist. plus, i knew i had a heap of instagram pictures i would just love to actually have in my possession. believe me when i say old fashion prints in the shape of squares (i ordered 4x4's), were a real breath of fresh air <3

pretty speedy shipping, too!
okie doke! let's start building. first you will need some good ole drift wood. i am fortunate enough to live about 5 minutes from the lake erie shore, so driftwood is quite abundant in these here parts.

try to pick pieces that are mostly flat & straight. a few curves & funky ends are cool though. just eyeball the length according to how big you'd like to make your frame.

supplies! you will definitely need the mini clothes pins, fishing line (or string/wire of choice), twine/hemp, and small screw eyes (i got 5/8 inch). the beads are something i just added for fun :)
*mini clothespins can be purchased at craft stores or walmart.
~most everything here can actually be found at walmart, (damn them & their evil convenience!)
*screw eyes i found at the hardware.

i decided i wanted to paint some Native American Indian/tribal designs on my driftwood. obviously you can just leave them plan but i thought this was fun & easy to do! i used acrylic paint on mine. the color & look of my driftwood is what inspired me to use the turquoise beads as well. :)

look of my dread man helping! what a gem :D had to take a pic of him in action! so, you just lay your pieces together to make a frame shape. remember this will be hanging on the wall, so make sure the wood lays pretty flat for the most part.

just wrap all the edges together snug w/ the twine, doesn't have to be perfect. we're going for the rustic look anyways ;-)

tadaaaa! what a beaut! don't you love my computer room carpet? don't be jealous.
now is the really annoying part, i mean REALLY annoying! you have to hand screw these stupid little "screw eyes" in. you can measure evenly apart 3 (more or less depending on the size of your frame) down on each side (make sure it's the side you want facing the wall). you may even have to use needle noose pliers to get them to go all the way in, i sure did!
~side note, it looks like i'm cracking the wood w/ the screw eyes, but the cracks were already there. i noticed when i screwed in the crack area, it made it easier...so i just went w/ it. wait, did i just say screw in the crack? wow, lol. also, drift wood will have cracks & imperfections like that, it's perfectly normal :-)

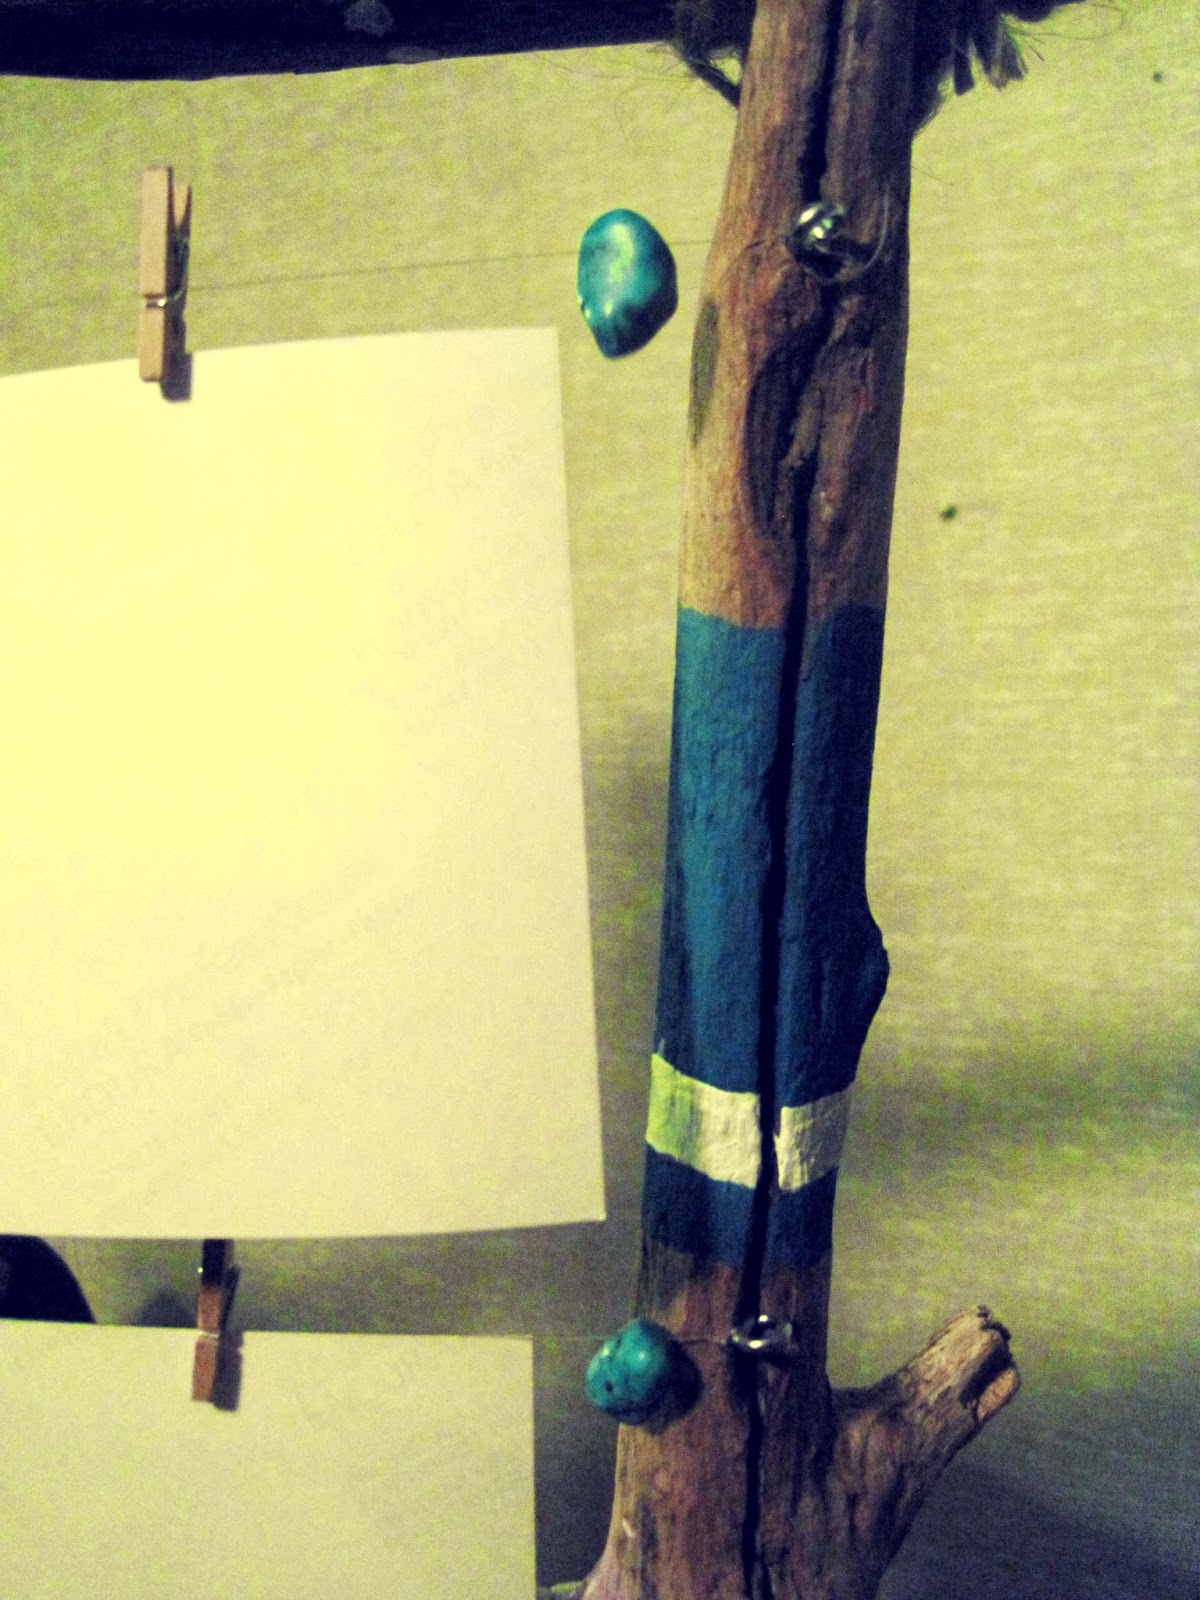
after you screwed everything in, just tie the fishing line across pretty tightly :) makes sure to put your beads on the string before tying (if your getting all fancy like me). don't overdo the beads if you do decide to use them, they may get in the way!!

now put a couple screw eyes on top of the frame & attach a piece of twine to hang with.

whooomp, there it is! yesssssss. & how cool is it that you can interchange the pix? just having a place to showcase them is awesome!

i ended up adding more mini clips to my pictures in case they wanted to curl. if the curling does happen~ options such as glueing them to a piece of card stock may do the trick. i'm gonna wait & see how mine hold up!

i really love the way this beauty turned out! i found the basic idea one pinterest & instagram before deciding to come up w/ my own game plan. the others used normal empty frames, which is also a really cute idea & probably a bit easier to do even. so, you can always us that strategy as an option if the driftwood doesn't tickle your fancy or have a hard time finding some :)
thanx a bunch for checking out my blog! happy creating to you all <3
*peace & blessin's*

Comments
Post a Comment